Textures and Rendering
The final stretch. Given more time, I would always do things differently and spend more time in some areas, Texturing is one of those. But I had done some planning for this step so I'm well prepared and have a good idea of what to do in my head.
My texturing technique in SP is lots of layering, heaps and heaps. I use reference from mega scans too to match colors and see how things look in their albedo and other maps. Of course I somewhat stylize things a little bit with my own twist, so its real, but not photorealistic 1:1
And seeing as my goal was for this to be game ready, I'm limited to a single set of textures, so I have to be smart with how I get my details in. First off, my prop is easily broken down into a few materials, so that makes re-using really easy.
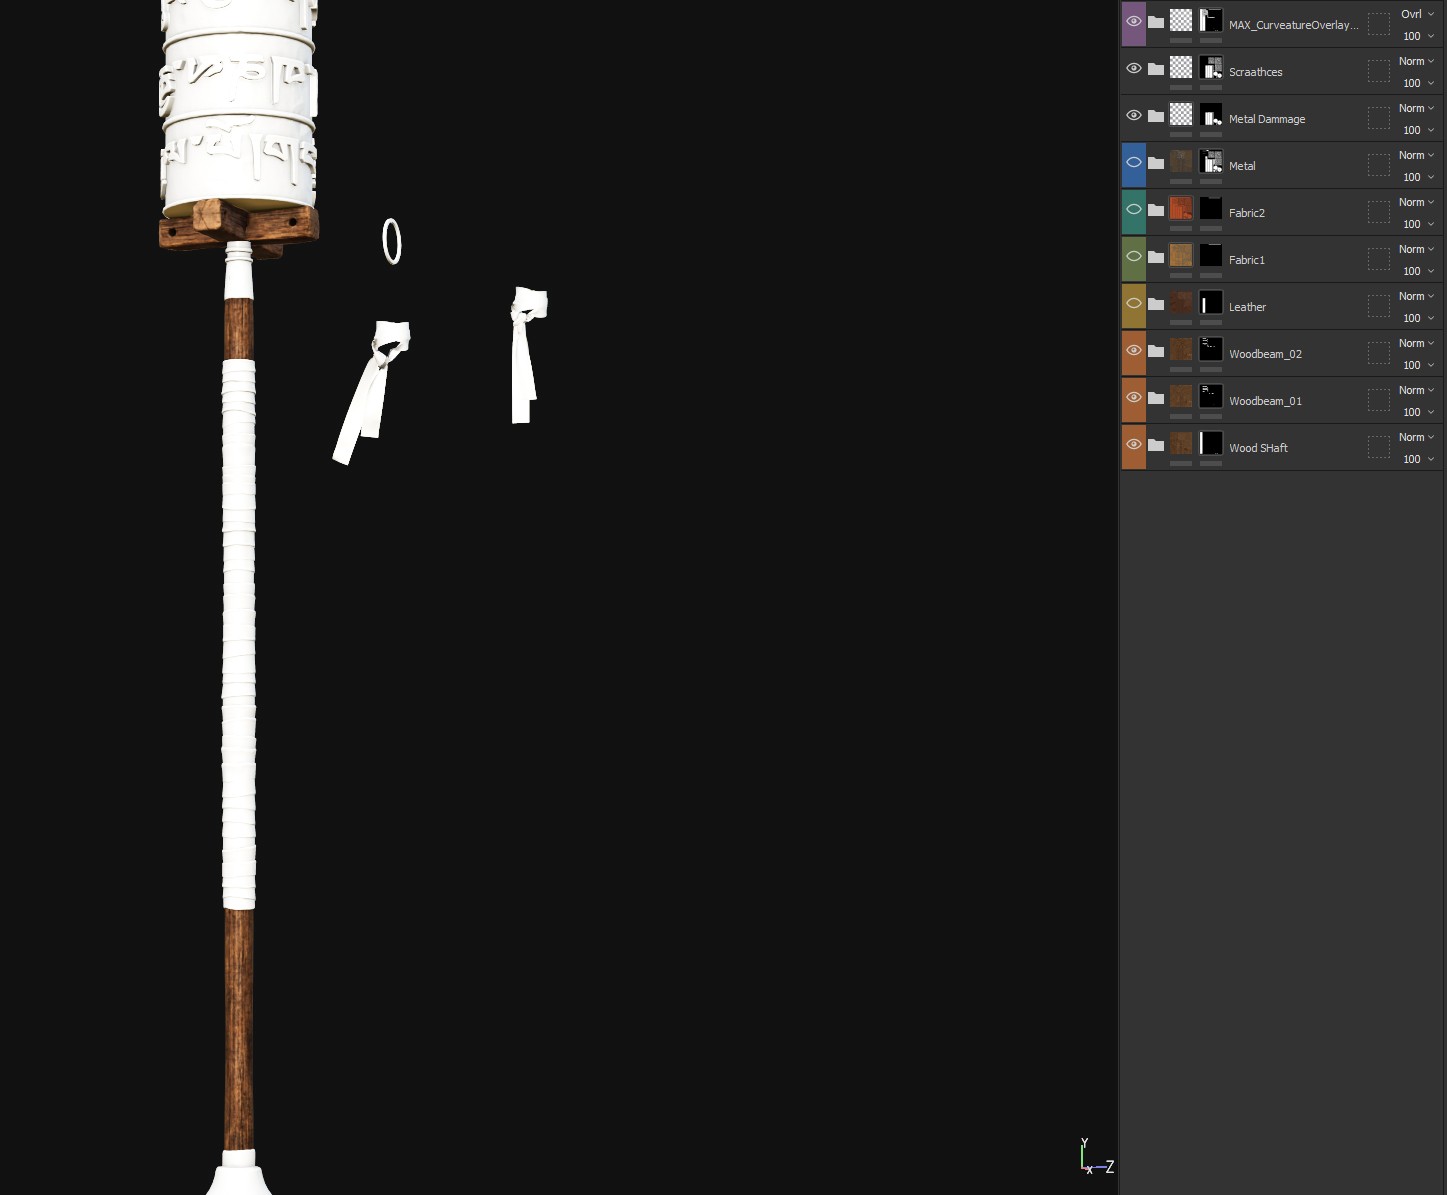
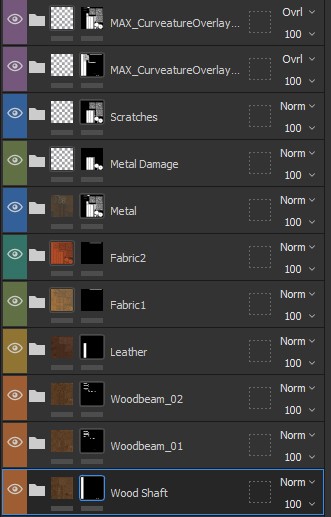
When it comes to texturing, I put a lot of focus into my Roughness and any normal/height details that I add in painter. I try to achieve a believable level of wear and tear, whilst also exaggerating some other aspects that I would like to highlight, like colors or contrast in the roughness. I generally do this as I go, but at the end I do have some controls in my layer stack to adjust these. And 100% need to keep my layers clean and organized, as I tend to come back and make tweaks once I've got my render set up.


Rendering
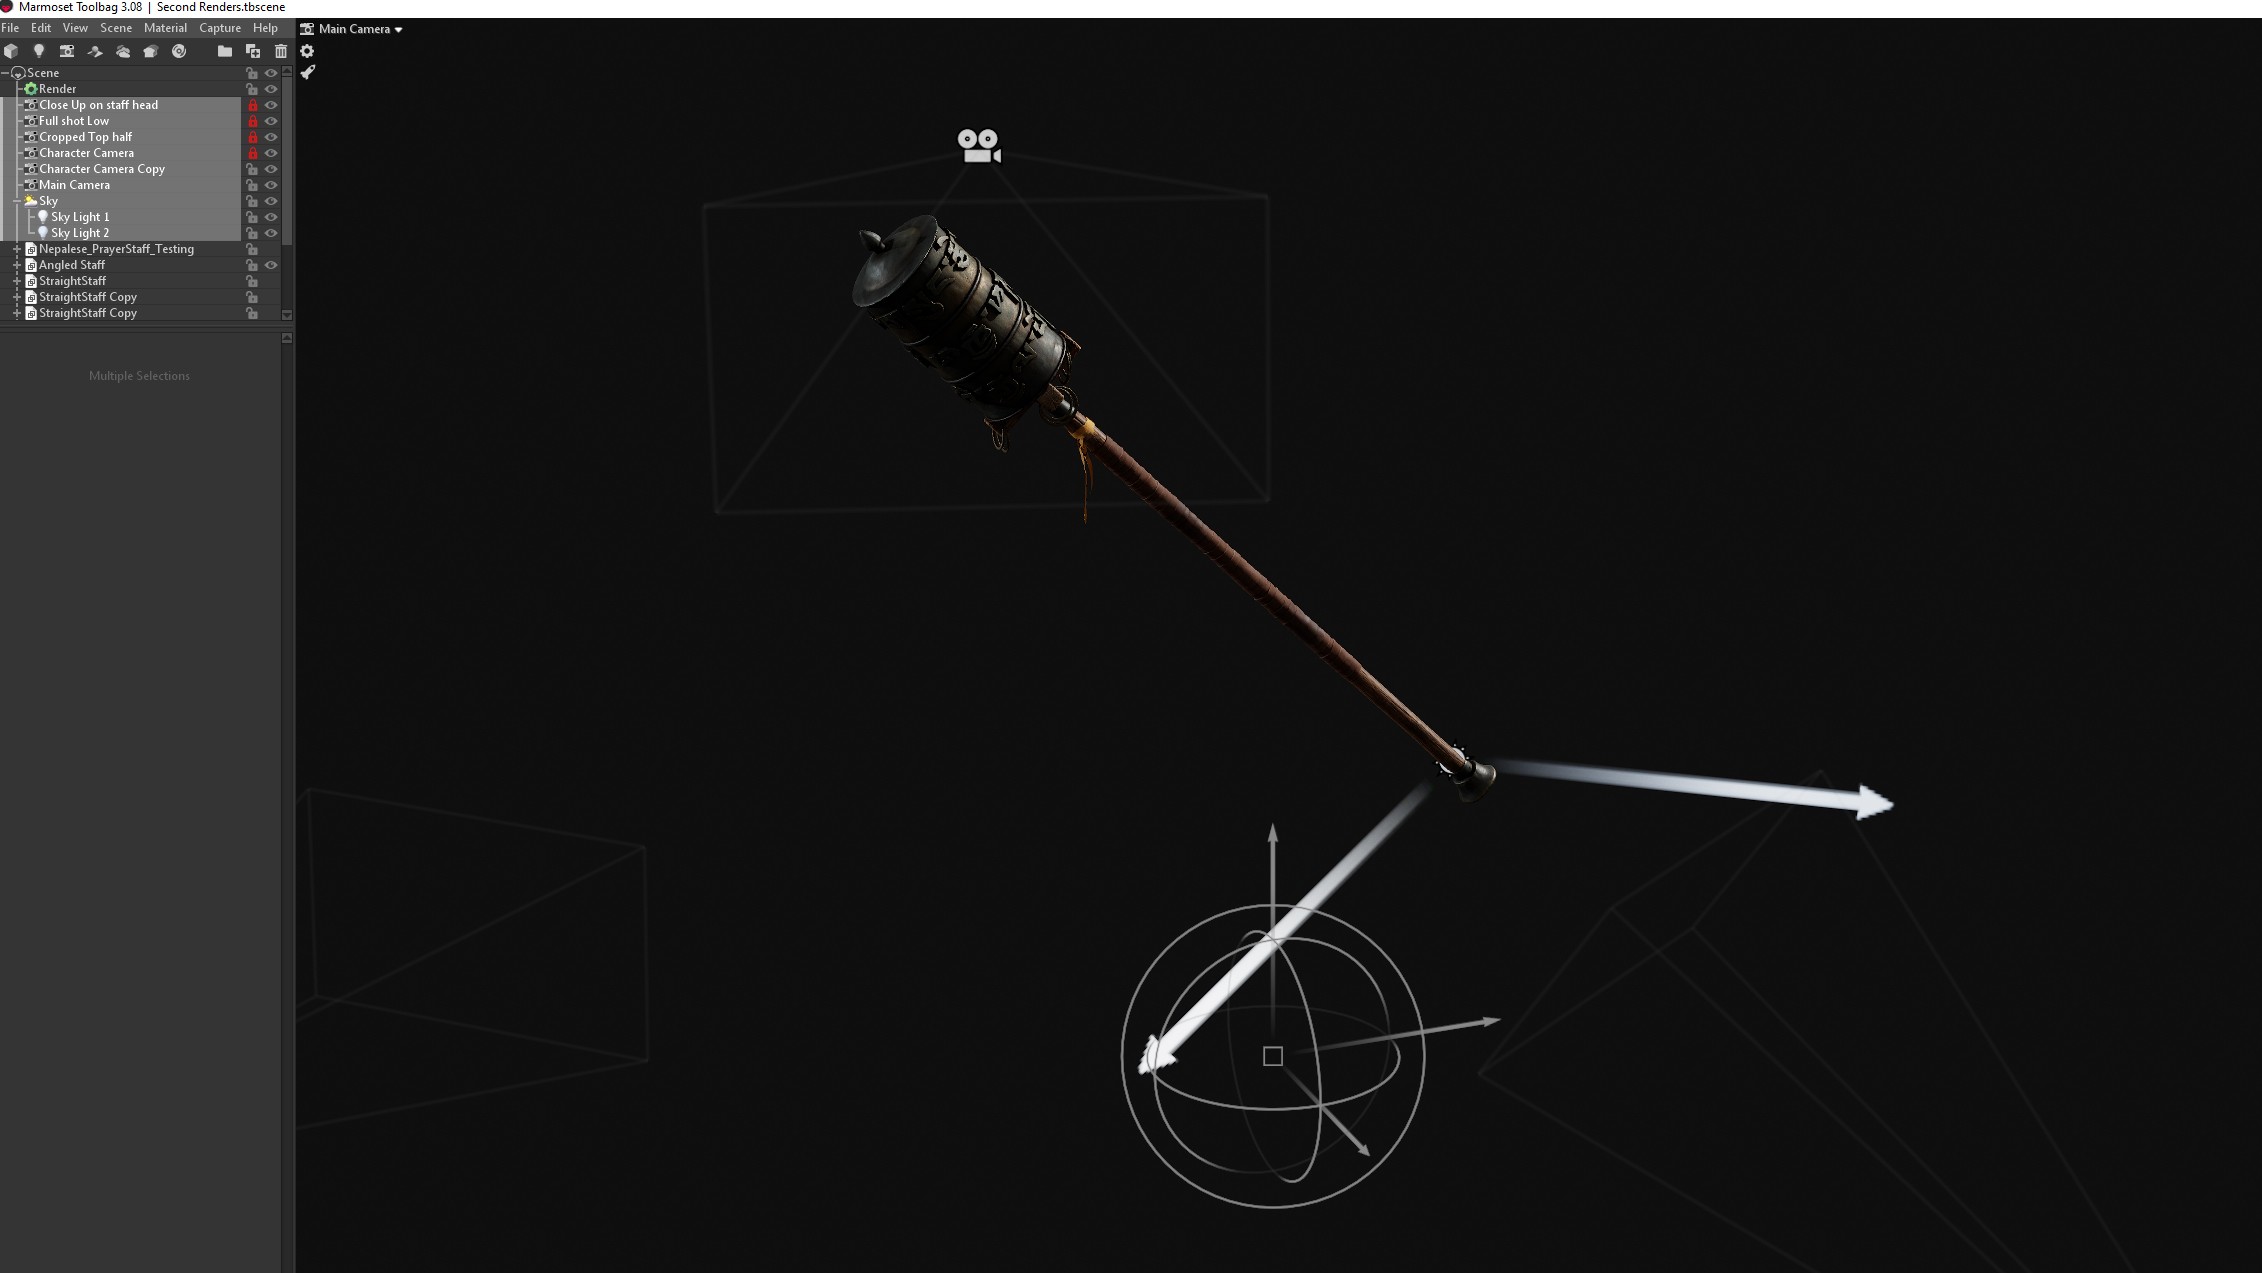
I've kept it simple for this asset, Rendering in marmoset. only using two lights setup in the scene. this helps edge light and fill light my asset without it getting too cluttered. I keep a new camera for every render i want, along with parenting a new version of the mesh to that camera, it makes coming back in and adjusting this with new textures alot easier.
I also did some renders with all the textures applied minus the albedo, as to get a good look at the roughness and normal in particular.
